Player Movement
Player Movement
How running could work in Olmec Sevens.
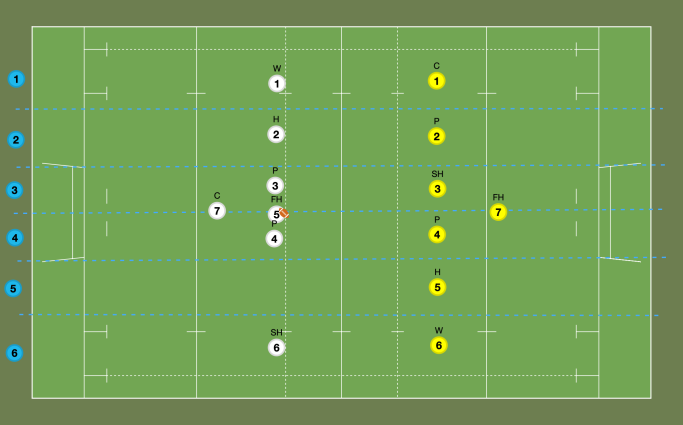
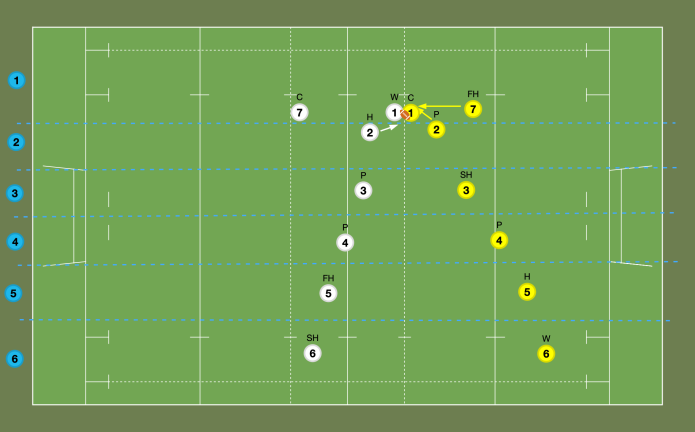
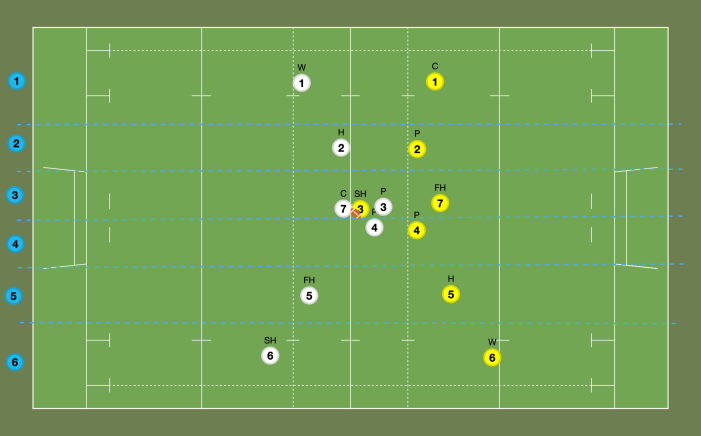
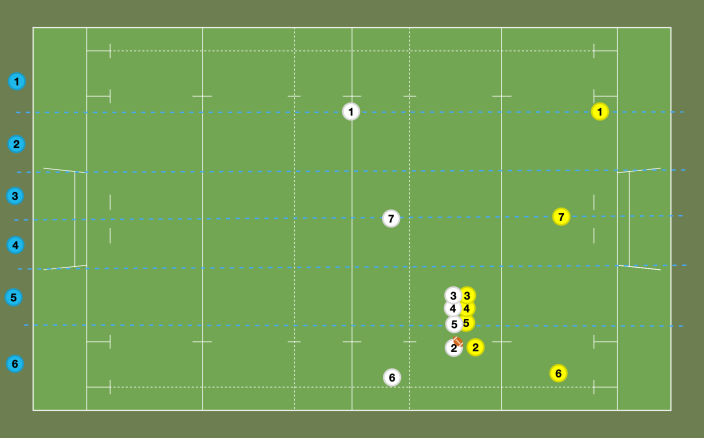
Players line up in their channels for the kick off. The White FH is kicking so comes out of his channel for the kick. The designated Sweepers stand around 10m back.
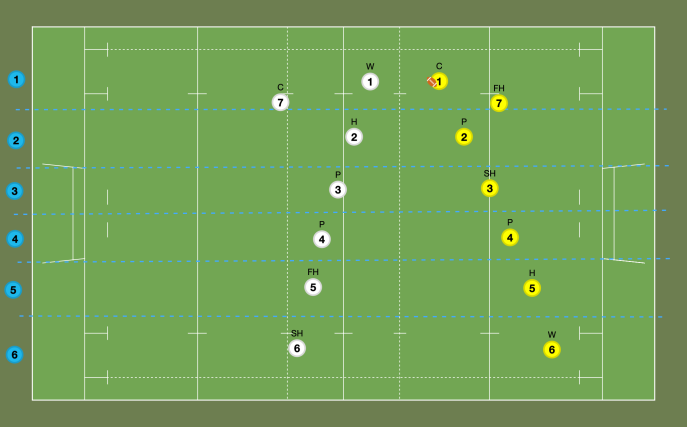
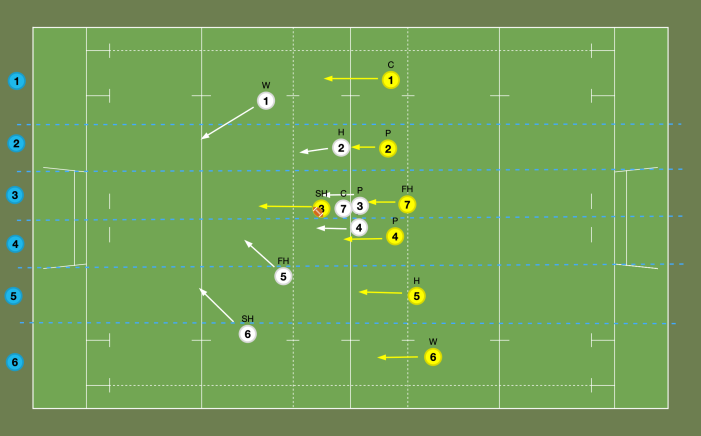
The Kick Off is taken long and is a good kick straight towards the Yellow C. The Yellow players retreat to get behind the ball and into their backward leaning formation, except the Sweeper who moves to behind the receiver. The White team close down their opponents - getting into their backward leaning formation at the same time. The White FH moves back into his channel having taken his kick. The White Sweeper moves across to cover a potential line break by the ball carrier.
The Yellow C catches the ball. His teammates are now in their ideal set up. Likewise the White players.
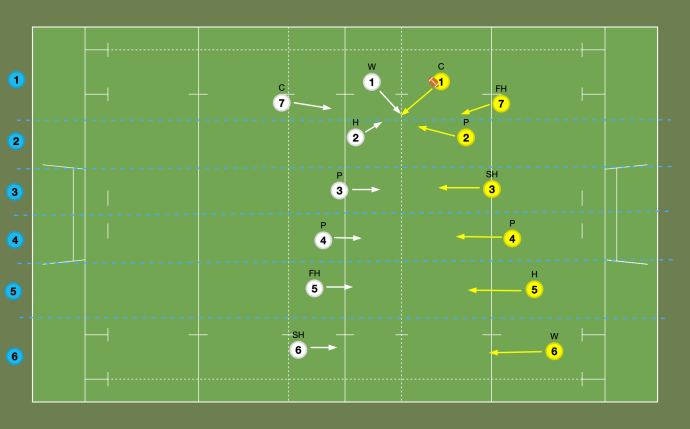
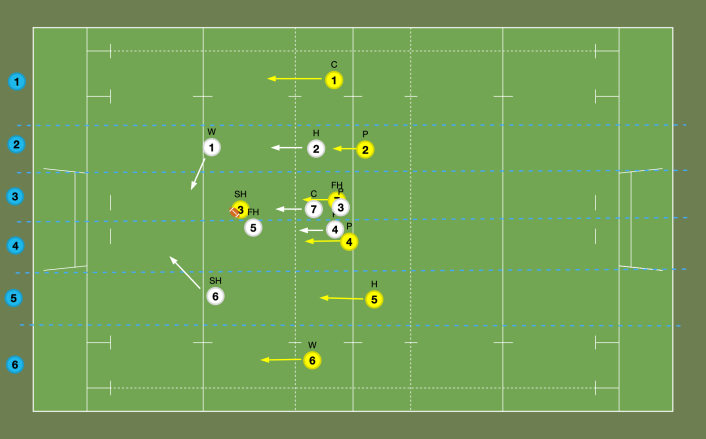
The Yellow C decides to Run the ball. Note he runs towards the edge of his channel to make it easier for his teammate to join any future ruck. The White W runs in to tackle. Note that if White is playing Blitz defence then he intercept the ball carrier after 5m. If he’s playing Drift, it will be 10m.
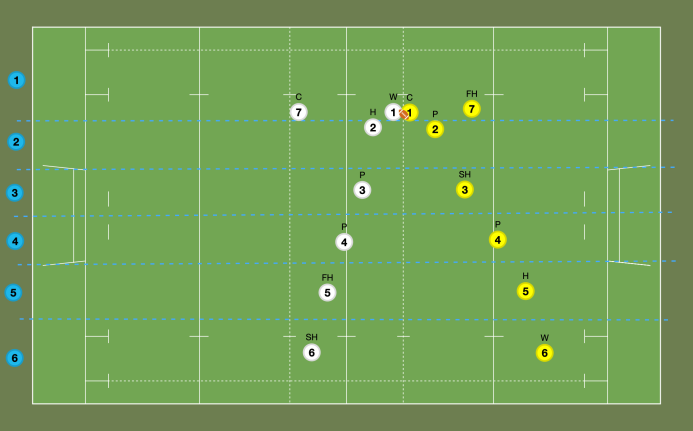
The tackle is made successfully.
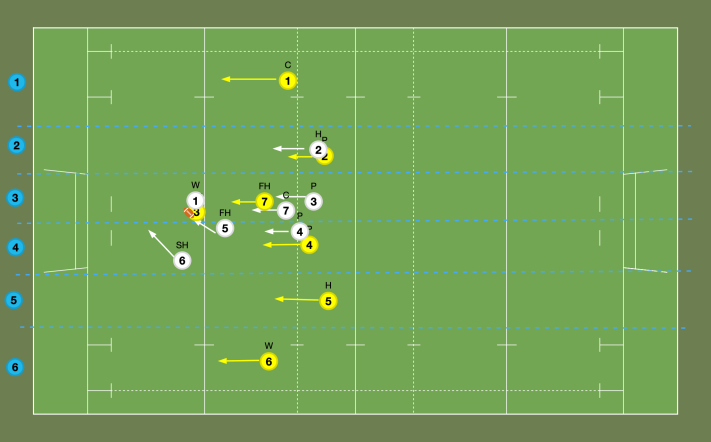
After the Tackle, a Ruck is formed. The nearest players on either side join this Ruck. The Yellow Sweeper also joins in to receive the ball if his side manage to avoid being jackalled. The rest of the players remain in their ideal formation.
The Yellow team successfully recycle the ball to the Yellow Sweeper, who passes out to the next player in the line.
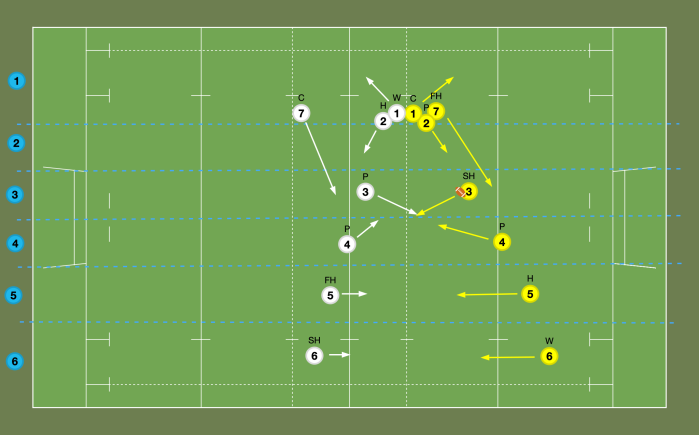
The ball carrier also opts to Run with the ball. As before he runs towards the edge of his channel. His teammates follow his run in their ideal
formation. The White team mirror this. For those who were in the Ruck they immediately try and get back into their positions. For both Sweepers, this means getting back behind the ball.
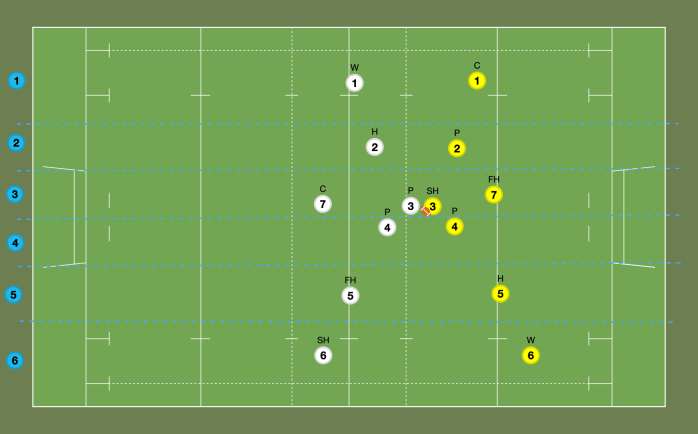
There is another tackle on the ball carrier. Note that both teams are now in an arrowhead formation because the ball is in the middle of the pitch.
In this case, the Yellow SH breaks the line. The White Sweeper moves in for a covering tackle. The rest of the players follow the ball in their formations. Note that because the White players (other than the Sweeper) are having to retreat, they would lose 5 Momentum.
The White Sweeper attempts to make a tackle. The respective formations will break down a little here because players will all be moving at a different PCE. Note that the White Ps, who are closest to the ball carrier are also chasing back but because they have -5 Momentum this turn, are not able to reach him.
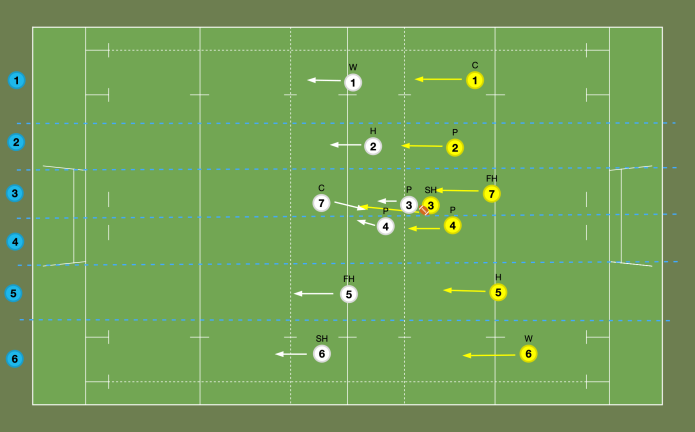
The Yellow SH manages to avoid the Tackle but is slowed down losing 5 Momentum. However he is in the clear and will attempt to run for the try line. The White players will now break formation and all run across to try and stop him getting there (Scramble Defence). Their Momentum should return to 0. The Yellow players retain their position in their channels.
The Yellow SH is fast enough to avoid being caught at the first check. He loses another 5 Momentum (to a minimum of -5)
The Yellow SH is not fast enough to avoid being caught at the second check. He will try and recycle the ball at the Ruck. He will only manage this if his support runners are close enough to help him. Usually, the Sweeper will have kept up with him enough to enable this. Note that if the Yellow FH can get the ball, he could throw a long pass to either wing, where his teammates are unmarked because of the Scramble Defence. If White successfully jackal the ball, the players in front of it (2, 3, 4, 5, 7) must retreat behind the ball before they can take part in any further actions.
Scrum and Line Out
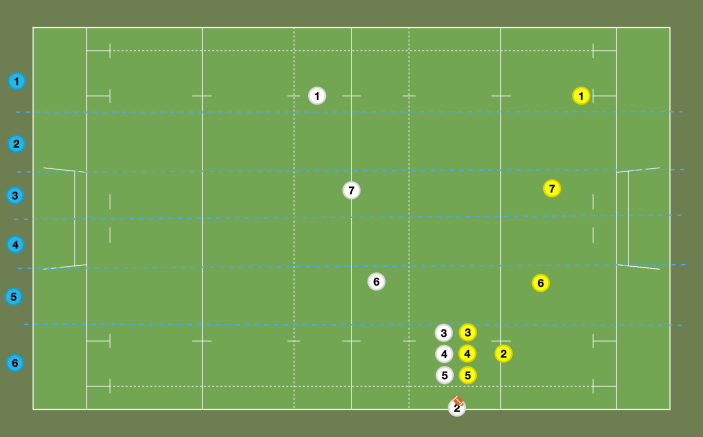
These set pieces are slightly different because players have to move out of their channels. In the diagram below, White have a Scrum just outside the Yellow 22. To the right of where the scrum takes place there is very little space on the pitch. This is known as “the short side”. One attacker will stand on the short side and the other two will line up across the pitch a reasonable distance from the scrum so they have plenty of space to run into. Defenders shadow their opposites. Both sets of players not directly involved in the scrum must be a minimum of 10m behind the ball. Note that to take their positions, most players have come completely out of their channels. Both sides will aim to get their players back into position as soon as possible. How quickly they do so, will depend on their PCE and how far they have to go.
The Line Out is the same in principle but always takes place on one side of the pitch, so there is no short side to attack or defend.
